

![]()
Security Information Management (SIM) systems have made many security administrators’ lives easier over the years. SIMs organize an enterprise’s security environment and provide a common interface to manage that environment. Many SIM products are available today that perform well in this role, but none are as ambitious as AlienVault’s Open Source Security Information Management (OSSIM).
With OSSIM, AlienVault has harnessed the capabilities of several popular security packages and created an intelligence’s that translates, analyzes and organizes the data in unique and customizable ways that most SIMs cannot. It uses a process called correlation to make threat judgments dynamically and report in real time on the state of risk in your environment. The end result is a design approach that makes risk management an organized and observable process that security administrators and managers alike can appreciate.
OSSIM provides all of the features that a security professional needs from a SIEM offering a event collection, normalization, and correlation. Established and launched by security engineers out of necessity, OSSIM was created with an understanding of the reality many security professionals face: a SIEM is useless without the basic security controls necessary for security visibility.
OSSIM addresses this reality by providing the essential security capabilities built into a unified platform. Standing on the shoulders of the many proven open source security controls built into the platform, OSSIM continues to be the fastest way to make the first steps towards unified security visibility.
OSSIM features the following software components:
• Arpwatch, used for MAC address anomaly detection.
• P0f, used for passive OS detection and OS change analysis.
• PADS, used for service anomaly detection.
• OpenVAS, used for vulnerability assessment and for cross correlation of (Intrusion detection system (IDS) alerts vs Vulnerability Scanner) information.
• Snort, used as an Intrusion detection system (IDS), and also used for cross correlation with Nessus.
• Suricata. , used as an Intrusion detection system (IDS), as of version 4.2 this is the IDS used in the default configuration.
• Tcptrack, used for session data information which can grant useful information for attack correlation.
• Ntop, for recording traffic patterns between hosts and host groups, and statistics on protocol usage.
• Nagios, used to monitor host and service availability information based on a host asset database.
• OSSEC, a Host-based intrusion detection system (HIDS).
• Munin, for traffic analysis and service watchdogging.
• NFSen/NFDump, used to collect and analyze NetFlow information.
• FProbe, used to generate NetFlow data from captured traffic.
• OSSIM also includes self developed tools, the most important being a generic correlation engine with logical directive support and logs integration with plugins.
In this article, I explain the installation of an all-in-one OSSIM agent/server into a test network, add hosts, deploy a third-party agent, set up a custom security directive and take a quick tour of the built-in incident response system
Installation:
To keep deployment time to a minimum, I deployed OSSIM on a KVM-based virtual machine (VM). OSSIM is built on Debian, so you can deploy it to any hardware that Debian supports. I used the downloadable installation media from the AlienVault site in .iso form and booted my VM from the media.
You can download latest iso image here AlienVault_OSSIM_64Bits_4.3.4.iso
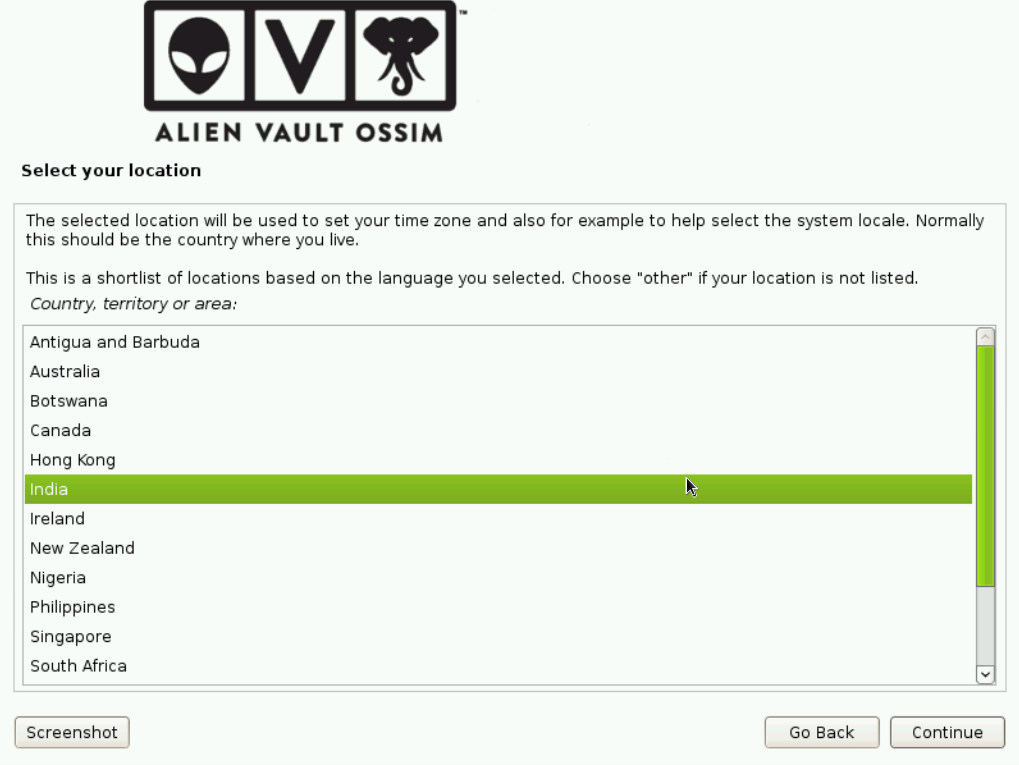
On bootup, you will see a rather busy and slightly difficult-to-read install screen .If you’ve seen Debian install screens, the OSSIM installer will look very familiar. Set your language preferences and partition your hard drive(s). Configure your settings for Postfix if desired. Finally, set your root password, and enter a static IP address for the server when prompted. The installer will restart the machine to complete the configuration.


After installation and reboot, now start the machine and Open a browser from a machine on the same network and enter the IP address of the OSSIM server in the URL field . Enter admin as the user and password to log in to the management site. Change your password under the Configuration Users section. After logging in, the main dashboard view loads


The next step is to add systems for the OSSIM server to monitor. Start by defining your local network an completes, several hosts should appear on the Hosts tab of the Policies section. OSSIM installs and auto-configures Nagios and ntop during installation, so you also can see basic network information by visiting the Monitors section of the management page
You now have an active OSSIM server using passive network monitors like snort, Nagios and ntop to report on your test network’s activity. Next, let’s add some client-based agents that feed data into the OSSIM server.


Installing the OSSEC Agent:
Many client agents can communicate with OSSIM, but because of space limitations, I am covering the one I believe is the most valuable to security administrators: OSSEC. OSSEC is a freely available host intrusion detection system (HIDS) maintained by Trend Micro that performs a multitude of client security tasks, such as logging, alerting, integrity checking and rootkit detection. Additionally, a large number of OSSIM plugins for OSSEC already are installed with your server that can monitor virtually any part of a UNIX/Linux/Windows system.
for installing OSSEC Client agent on Linux and Windows machine follow my previous post Installing OSSEC
After Installing OSSEC Client agent on your client machine, then come back to the OSSIM Server.
On OSSIM server generate a record for the OSSEC agent we have just installed by running:
#/var/ossec/bin/manage_agents
choose (a)
give a name to the agent using the convention ‘linux-server-name’-ossec-agent
give the IP of the Linux server
press enter to select the default value of the ID assigned by the OSSIM server for the OSSEC agent
choose (y) to confirm selection
choose (q) to quit
On OSSIM Server generate a key for the OSSEC agent
#/var/ossec/bin/manage_agents
choose (e)
provide ID of the OSSEC agent defined above
copy the key and press (q) to quit
On Linux server register OSSIM server with OSSEC agent by
#sudo /var/ossec/bin/manage_agents
choose (i)
paste the key generated in step 10
choose (y) to confirm
press (q) to quit
#sudo nano /var/ossec/etc/ossec.conf
add line <server-ip>”IP of OSSIM server”</server-ip> within the tag <client> </client>
#sudo /var/ossec/bin/ossec-control stop
#sudo /var/ossec/bin/ossec-control start
Login to the OSSIM web interface
Goto Analysis → Vulnerabilities → Scan Jobs
Click a New Scan Job to define scan job for the server above
Provide IP of the server in the text box that reads: “Type here to search assets”
Click ‘New Job’ to launch the job
When the vulnerability scan is complete you can download the PDF to see the comprehensive report generated by OSSIM
The process of analyzing multiple events within a directive is called correlation. Correlation is central to OSSIM’s operation. With correlation, administrators can take data from a multitude of disparate security devices and tailor directives to reduce false positives and extrapolate threat data in real time.


Can I use OSSIM on a vps server to monitor, detect, and protect websites from hacker attacks? Or is OSSIM strictly for the desktop environment.
Also, I want to install OSSEC on a vps for the same reason but if OSSIM is “unified security visibility” as you say, then I’d prefer install OSSIM.
FYI: My vps has 1 dedicated ip address on an Nginx server for WordPress websites. RAM is 2GB plus 2GB burstable. Storage is over 100GB.
Practical suggestions . For what it’s worth , if your company requires a DD 603-1 , my family filled out and esigned a template form here
https://goo.gl/e3dicr.